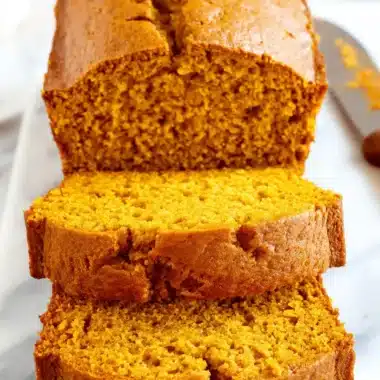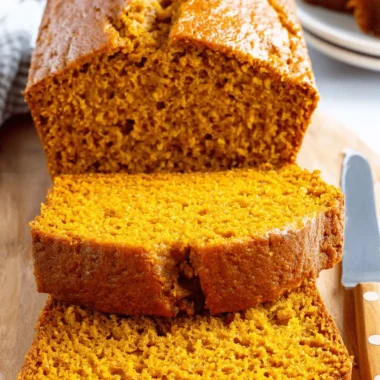

There’s something truly magical about the smell of pumpkin bread baking in the oven. It’s the scent of cozy sweaters, crisp autumn air, and pure comfort all wrapped into one. For years, I thought making perfect pumpkin bread was something reserved for seasoned bakers, but I’m here to tell you it’s one of the easiest and most rewarding things you can make, even when life feels incredibly busy.
This recipe is my go-to, my never-fails-me guide to the most wonderfully moist and flavorful pumpkin bread you’ll ever taste. I’ve designed it to be completely stress-free, so you can skip the intimidation and get straight to the joy of baking. Trust me, with these simple steps, you’re about to make your kitchen smell like heaven.
Why This is the BEST Pumpkin Bread Recipe You’ll Ever Make
I know there are thousands of pumpkin bread recipes out there, but I truly believe this one stands apart. Here’s why I know you’ll love it:
- Unbelievably Moist Texture: The combination of ingredients and my specific mixing method creates a tender, moist crumb that stays fresh for days. No more dry, disappointing pumpkin bread.
- Perfectly Balanced Spices: I’ve tested the spice blend of cinnamon, nutmeg, and cloves to get it just right. It’s warm and fragrant without being overwhelming, letting that sweet pumpkin flavor shine through.
- Completely Foolproof: I’ve included all my best tips and tricks to guarantee your success. From explaining why certain steps matter to troubleshooting common problems, I’m right here with you to make sure your loaf turns out perfectly every single time.
- Endlessly Adaptable: Think of this recipe as your perfect starting point. I’ll show you how to customize it with everything from chocolate chips and nuts to a dreamy cream cheese swirl or a crunchy streusel topping.
Mastering Your Ingredients: The Secret to Perfect Pumpkin Bread
The magic of this recipe is in its simplicity, but using the right ingredients and techniques makes all the difference. Understanding what each one does will give you so much confidence in the kitchen.
First, let’s talk about flour. It’s so important to measure it correctly. Instead of scooping directly from the bag, which packs the flour down, I always spoon it into my measuring cup and level it off with a knife. This prevents a dense, dry loaf and guarantees a light texture.
I use butter in this recipe instead of oil. While oil can make breads moist, I find that butter provides a richer flavor and a more tender, cake-like crumb that I just adore. Make sure your butter is softened to room temperature. This is key for creaming it properly with the sugar. If you forget to take it out, you can cut it into small cubes and let it sit on the counter for about 15 minutes.
For the best flavor, use fresh spices. They have a much more potent and beautiful aroma than spices that have been sitting in the pantry for a year. If you really want to elevate the flavor, try grating a little fresh nutmeg; it’s a total game-changer. And when it comes to the pumpkin, always reach for 100% pure pumpkin puree, not pumpkin pie filling. I personally love using Libby’s because it has a consistent, thick texture that works perfectly every time.
Ingredients for the Moistest Pumpkin Bread
- 2 cups all-purpose flour, (spooned into measuring cup and leveled-off)
- ½ teaspoon salt
- 1 teaspoon baking soda
- ½ teaspoon baking powder
- 1 teaspoon ground cloves
- 1 teaspoon ground cinnamon
- 1 teaspoon ground nutmeg
- ¾ cup (1½ sticks) unsalted butter, softened
- 2 cups sugar
- 2 large eggs
- 1 (15-oz) can 100% pure pumpkin (I use Libby’s)
How to Make Foolproof Pumpkin Bread
- Preheat the oven to 325°F (165°C) and set an oven rack in the middle position. Generously grease two 8 x 4-in (20 x 10-cm) loaf pans with butter and dust with flour (alternatively, use a baking spray with flour in it, such as Pam with Flour or Baker’s Joy).
- In a medium bowl, combine the flour, salt, baking soda, baking powder, cloves, cinnamon, and nutmeg. Whisk until well combined; set aside.
- In a large bowl of an electric mixer, beat the butter and sugar on medium speed until just blended. Add the eggs one at a time, beating well after each addition. Continue beating until very light and fluffy, a few minutes. Beat in the pumpkin. The mixture might look grainy and curdled at this point—that’s okay.
- Add the flour mixture and mix on low speed until combined.
- Turn the batter into the prepared pans, dividing evenly, and bake for 65 to 75 minutes, or until a cake tester inserted into the center comes out clean. Let the loaves cool in the pans for about 10 minutes, then turn out onto a wire rack to cool completely. Once completely cooled, cover the loaf with aluminum foil or store it in a cake keeper and keep it at room temperature for up to 3 days.
Pro Tips for the Most Delicious & Moist Pumpkin Bread
I’ve learned a few things over the years that take this pumpkin bread from great to absolutely amazing.
- Do Not Overmix the Batter: Once you add the dry ingredients to the wet, mix only until you no longer see streaks of flour. Overmixing develops the gluten in the flour, which results in a tough, rubbery bread instead of a tender one. The batter should look combined, but it doesn’t need to be perfectly smooth.
- Cream the Butter & Sugar Properly: The step where you beat the butter and sugar until “light and fluffy” is so important. This process whips tiny air pockets into the mixture, which helps the bread rise and gives it a wonderfully light texture. It’s worth the extra couple of minutes, I promise!
- Boost the Spice Flavor: As I mentioned, fresh spices are key. For an incredible aroma and depth of flavor, buy whole nutmeg and grate it yourself with a microplane or small grater right before you add it to the batter. You’ll be amazed at the difference it makes.
- Check for Doneness in Multiple Ways: The toothpick test is classic, but there are other cues. The bread is done when the top is golden brown and springs back lightly when you gently press it. You’ll also notice the incredible, spiced aroma filling your kitchen becomes deeper and toastier right when it’s ready.
Pumpkin Bread Variations & Add-ins
This recipe is a wonderful canvas for your creativity! Here are a few of my favorite ways to dress it up.
| Addition | What to Add & How | When to Add |
|---|---|---|
| Chocolate Chips & Nuts | 1 cup of semi-sweet chocolate chips and/or 1 cup of chopped walnuts or pecans. | Gently fold into the batter after the flour has been incorporated. |
| Cream Cheese Swirl | Beat 4 oz softened cream cheese, ¼ cup sugar, and 1 egg yolk until smooth. | Layer half the batter in the pan, drop spoonfuls of the cream cheese mixture on top, then top with the remaining batter. Swirl gently with a knife. |
| Streusel Topping | Mix ½ cup flour, ¼ cup brown sugar, ½ tsp cinnamon, and 4 tbsp cold cubed butter until crumbly. | Sprinkle evenly over the batter in the pans just before baking. |
| Dried Fruits | 1 cup of dried cranberries or raisins. | Toss with 1 tbsp of flour (to prevent sinking) and fold into the batter last. |
| Simple Glaze | Whisk 1 cup powdered sugar with 2-3 tbsp of milk or cream until smooth. | Drizzle over the completely cooled loaf. |
Pumpkin Bread Ingredient Substitutions
Need to make a swap? No problem. Here are some common substitutions that work well.
| Original Ingredient | Substitution | Notes/Impact |
|---|---|---|
| Individual Spices | 2 ½ tsp Pumpkin Pie Spice | Use this in place of the cinnamon, nutmeg, and cloves for a convenient shortcut. |
| Unsalted Butter | Vegan butter sticks or ½ cup + 2 tbsp vegetable oil. | Vegan butter works as a 1:1 swap. Oil will produce an even moister, but slightly denser, loaf. |
| Granulated Sugar | Reduce sugar to 1 ½ cups. | The bread will be slightly less sweet and tender, but still delicious. |
| All-Purpose Flour | A 1:1 gluten-free baking flour blend (containing xanthan gum). | The texture may be slightly different, but a good quality blend will yield great results. |
Baking Pumpkin Bread in Different Pans
This recipe is designed for two standard loaf pans, but it’s very versatile. If you want to switch things up, here’s how:
- Mini Loaves: Divide the batter among 4-5 mini loaf pans. Bake at 325°F (165°C) for about 35-45 minutes, or until a tester comes out clean.
- Muffins: Spoon the batter into a lined 12-cup muffin tin, filling each cup about three-quarters full. Bake at 350°F (177°C) for 20-25 minutes. This recipe should yield about 24 muffins.
- Bundt Cake: Pour all the batter into a well-greased and floured 10- or 12-cup Bundt pan. Bake at 325°F (165°C) for 60-70 minutes. Be sure to let it cool in the pan for at least 15 minutes before inverting it.
Common Pumpkin Bread Problems & Solutions
Even the most foolproof recipe can sometimes hit a snag. Don’t worry! Here’s how to fix the most common issues.
-
Problem: My bread is dry.
- Cause: This is usually due to measuring the flour incorrectly or overbaking.
- Solution: Remember to spoon and level your flour. Start checking for doneness at the earliest time listed in the recipe and pull it from the oven as soon as a cake tester comes out clean.
-
Problem: My bread is tough and rubbery.
- Cause: This is almost always caused by overmixing the batter after adding the flour.
- Solution: Mix on the lowest speed and stop as soon as the flour disappears. A few small lumps are perfectly fine.
-
Problem: My bread sank in the middle.
- Cause: This can happen if the bread is underbaked or if the oven door was opened too early, causing a sudden temperature drop. It can also be caused by over-mixing or using too much leavening.
- Solution: Make sure your baking soda and powder are fresh. Bake the bread until it’s fully cooked through and resist peeking until the last 10 minutes of baking time.
-
Problem: My bread has a gummy center.
- Cause: This is a clear sign of underbaking. Every oven is a little different, so yours might need more time.
- Solution: If the top is browning too fast but the center isn’t cooked, loosely tent the pan with aluminum foil and continue baking until a tester comes out clean.
-
Problem: The top of my bread cracked.
- Cause: A crack on top of a quick bread is totally normal! It’s a sign that the oven heat is causing the bread to rise rapidly.
- Solution: I say embrace it! It gives the loaf a beautiful, rustic look. It doesn’t mean you did anything wrong.
Make-Ahead & Storage Tips for Your Pumpkin Bread
This bread stores beautifully, which makes it perfect for making ahead of time.
- Storing: Once the bread has cooled completely, wrap it tightly in aluminum foil or place it in an airtight container. It will stay wonderfully moist at room temperature for up to 3 days.
- Freezing: For longer storage, you can freeze the whole loaf or individual slices. Wrap the cooled bread tightly in plastic wrap, then a layer of foil, and place it in a freezer-safe bag. It will keep for up to 3 months. Just thaw it on the counter when you’re ready to enjoy.
- Freezing Batter: I don’t recommend freezing the batter, as the leavening agents can lose their effectiveness, resulting in a dense loaf.
- Slicing: For the cleanest slices, wait until the bread is completely cool. Use a serrated bread knife for the best results.
Serving Suggestions for Your Homemade Pumpkin Bread
A slice of this pumpkin bread is perfect on its own, but here are a few ideas to make it extra special.
- Toppings: A simple spread of softened butter is classic. You can also slather on some cream cheese, drizzle it with a simple powdered sugar glaze, or dust it with powdered sugar.
- Pairings: It’s a perfect companion for a hot cup of coffee, a chai tea latte, or a mug of warm spiced apple cider.
- Serving Temperature: I love it slightly warm, so I often pop a slice in the microwave for about 10 seconds. It’s also delicious at room temperature or even lightly toasted.
- Gifting: This bread makes a wonderful gift! Just wrap a cooled loaf in parchment paper and tie it with some festive twine for a thoughtful, homemade present.
Frequently Asked Questions about Pumpkin Bread
Can I use fresh pumpkin puree instead of canned? You can, but I find canned pumpkin puree (like Libby’s) gives the most consistent results. Fresh pumpkin puree can have a much higher water content, which can make the bread soggy. If you use fresh, I recommend blotting it between paper towels to remove some excess moisture first.
Do I need to make adjustments for high-altitude baking? Yes, high-altitude baking often requires a few tweaks. Generally, you may need to decrease the sugar slightly, increase the liquid a little, and reduce the baking soda and powder. It often requires a bit of experimentation to get it just right for your specific altitude.
How can I be sure my pumpkin bread is done? The most reliable test is to insert a wooden skewer or cake tester into the thickest part of the loaf. If it comes out with a few moist crumbs attached, it’s done. If it comes out with wet batter, it needs more time.
Why is my pumpkin bread dense? A dense loaf is often caused by using expired leavening agents (baking soda/powder), overmixing the batter, or measuring the flour incorrectly. Make sure your ingredients are fresh and you mix just until combined.
Can I use brown sugar instead of white sugar? Yes, you can substitute some or all of the white sugar with brown sugar. Using brown sugar will add more moisture and a slight molasses flavor to the bread, which is absolutely delicious.
A Slice of Comfort, Made by You
I hope you feel excited and ready to bake this wonderfully simple and comforting pumpkin bread. There’s so much joy in creating something delicious with your own two hands, and this recipe is the perfect way to bring a little warmth and coziness into your home.
I would absolutely love to see your creations! If you make this recipe, please leave a comment below to let me know how it turned out, or share a photo on social media and tag me at AishaRecipes. Happy baking
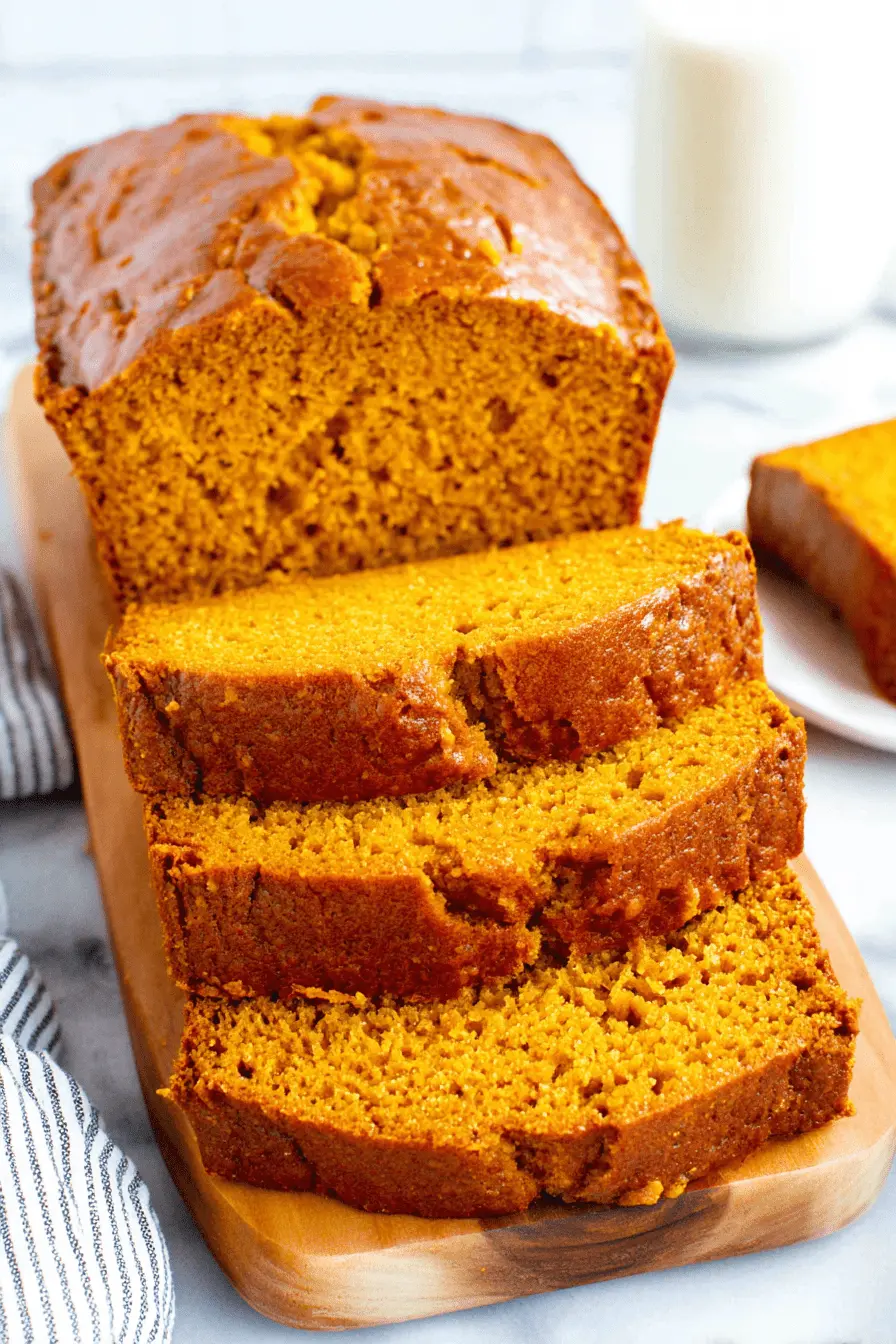
pumpkin bread
Ingredients
Equipment
Method
- Preheat your oven to 325°F (165°C) and prepare two 8x4-inch loaf pans by generously greasing and flouring them.
- In a medium bowl, whisk together the flour, salt, baking soda, baking powder, cloves, cinnamon, and nutmeg until well combined, then set aside.
- In a large bowl, using an electric mixer, beat the softened butter and sugar until just blended. Add the eggs one at a time, beating well after each, then continue beating until the mixture is light and fluffy; finally, beat in the pumpkin.
- Gradually add the dry flour mixture to the wet ingredients and mix on low speed until just combined.
- Divide the batter evenly between the prepared pans and bake for 65 to 75 minutes, or until a cake tester inserted into the center comes out clean. Let the loaves cool in the pans for about 10 minutes before turning them out onto a wire rack to cool completely; once cooled, store them covered at room temperature for up to 3 days.