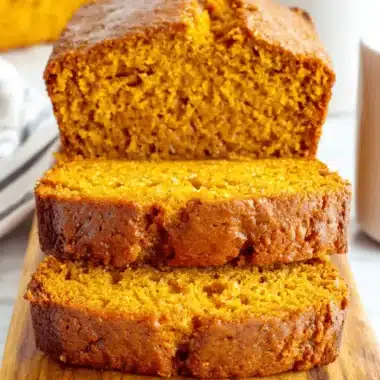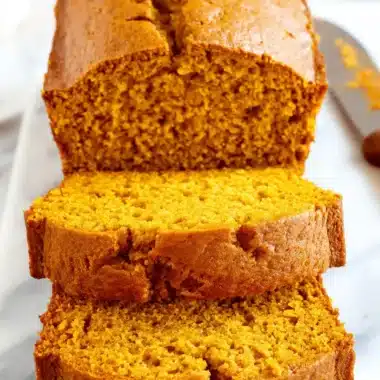

When the air gets that little bit of a crisp chill, I find myself craving flavors that feel like a warm hug. For me, that’s always pumpkin. This pumpkin bread recipe is one of my absolute favorites because it’s incredibly simple and delivers a perfectly moist, wonderfully spiced loaf every single time. It’s the kind of recipe that makes your whole house smell amazing and brings a little bit of joy to a busy week.
I designed this recipe to be completely stress-free, perfect for when you want a comforting treat without a lot of fuss. Whether you’re a seasoned baker or just starting out, I promise you can make this. It’s my go-to for fall gatherings, afternoon snacks, and even a special breakfast. Let’s get baking and fill your kitchen with the comforting scent of autumn.
Why You’ll Love This Foolproof Pumpkin Bread Recipe
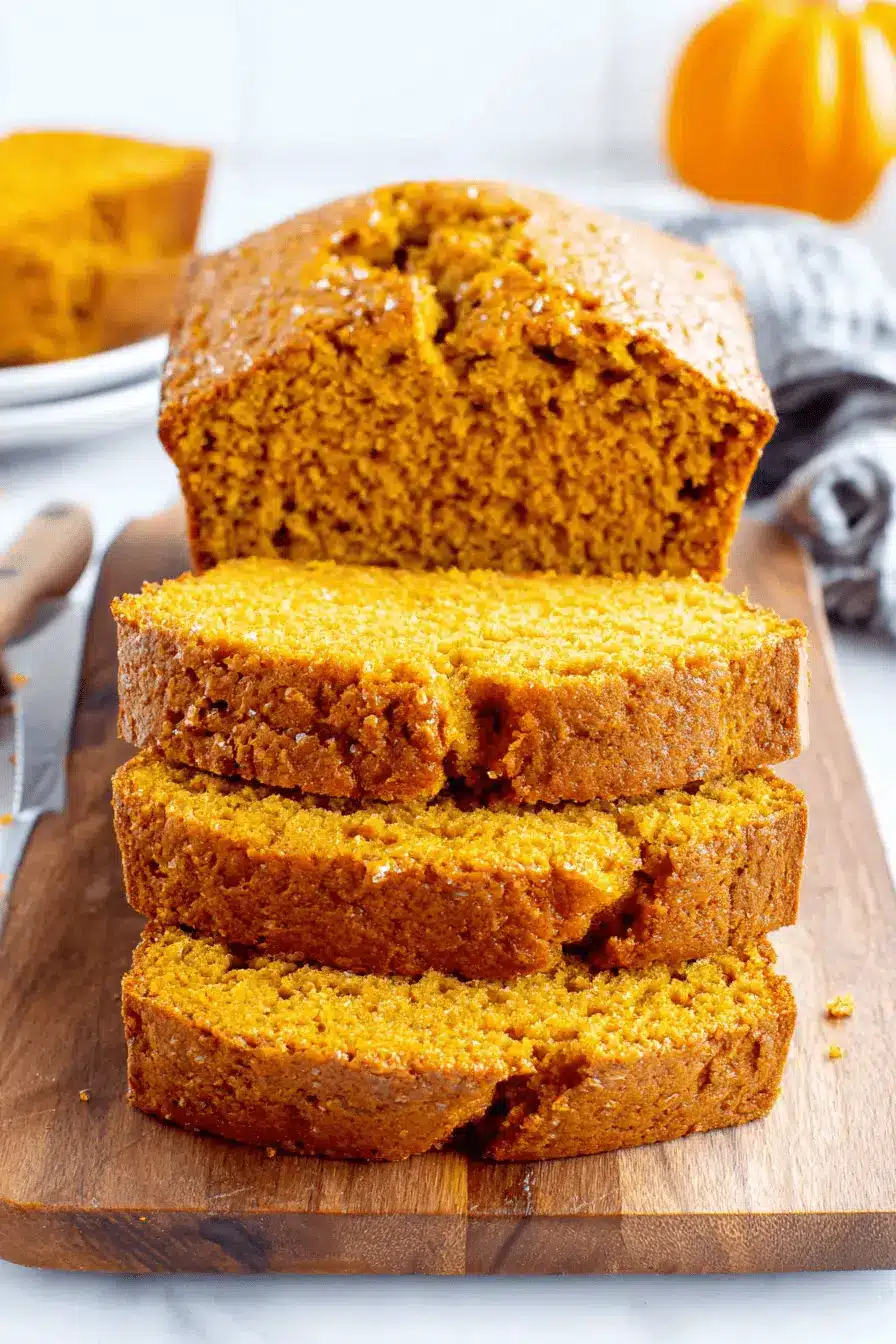
- Incredibly Moist and Tender: This isn’t a dry, crumbly pumpkin bread. Thanks to the perfect ratio of pumpkin puree and butter, every slice is rich and stays moist for days.
- Perfectly Spiced Flavor: The blend of cinnamon, nutmeg, and cloves creates that classic, warm spice flavor that is cozy and inviting without being overwhelming. It’s the taste of autumn in every bite.
- Simple, No-Fuss Instructions: I believe baking should be enjoyable, not intimidating. This recipe uses straightforward steps and common ingredients, making it accessible for any skill level.
- A Reliable, Go-To Recipe: This foolproof pumpkin bread recipe is wonderfully consistent. It turns out beautifully every time, giving you two gorgeous loaves perfect for sharing or freezing for later.
The Secret to Perfectly Moist Pumpkin Bread (Ingredient Deep Dive)
The magic of this bread really comes down to a few key ingredients. Understanding why they work will give you so much confidence in the kitchen. It’s less about being a perfect baker and more about knowing your ingredients.
Choosing the Best Pumpkin Puree
The star of the show is, of course, the pumpkin! For this recipe, I always reach for canned 100% pure pumpkin puree. It’s important to make sure the can says “pure pumpkin” and not “pumpkin pie filling,” as pie filling has added sugars and spices that will throw off the recipe. I find that brands like Libby’s have a consistently thick and smooth texture, which is exactly what you want.
If you decide to use homemade pumpkin puree, that’s wonderful too! Just be sure to blot it with paper towels to remove any excess water before adding it to your batter. Too much moisture can make the bread dense and soggy, and we are aiming for a perfectly moist, tender crumb.
The Magic of Fresh Spices
Using fresh, fragrant spices makes a world of difference in this bread. Over time, ground spices can lose their potency and flavor. An easy way to check if your spices are still fresh is to simply open the jar and take a sniff. If the aroma is strong and vibrant, you’re good to go. If it smells faint or dusty, it’s probably time for a new jar.
Sourcing high-quality, freshly ground spices will give your pumpkin bread a deep, warm, and aromatic flavor that you just can’t get from old spices. It’s a small detail that has a huge impact on the final result.
Essential Equipment for Your Best Pumpkin Bread
You don’t need a lot of fancy equipment for this recipe, but a good loaf pan is key. I recommend using two standard 8×4-inch loaf pans. Light-colored metal pans are my favorite because they conduct heat evenly and promote beautiful, consistent browning.
Dark metal pans can sometimes cause the outside of the bread to brown too quickly before the inside is fully cooked. If you only have glass or ceramic pans, they work too, but you may need to reduce the oven temperature by about 25°F and potentially add a few extra minutes to the baking time, as they retain heat differently.
Ingredients for Your Delicious Pumpkin Bread
- 2 cups (240g) all-purpose flour, (spooned into measuring cup and leveled-off)
- ½ teaspoon salt
- 1 teaspoon baking soda
- ½ teaspoon baking powder
- 1 teaspoon ground cloves
- 1 teaspoon ground cinnamon
- 1 teaspoon ground nutmeg
- ¾ cup (1½ sticks / 170g) unsalted butter, softened
- 2 cups (400g) sugar
- 2 large eggs
- 1 (15-oz / 425g) can 100% pure pumpkin (I use Libby’s)
Step-by-Step Instructions to Bake Perfect Pumpkin Bread
- Preheat the oven to 325°F (165°C) and set an oven rack in the middle position. Generously grease two 8 x 4-in (20 x 10-cm) loaf pans with butter and dust with flour. A baking spray with flour in it works great here, too. Proper pan prep is the secret to making sure your beautiful loaves release easily.
- In a medium bowl, combine the flour, salt, baking soda, baking powder, cloves, cinnamon, and nutmeg. Whisk until everything is well combined and set it aside. This step ensures the spices and leavening agents are evenly distributed, so you get a perfect rise and flavor in every bite.
- In a large bowl of an electric mixer, beat the butter and sugar on medium speed until just blended. Add the eggs one at a time, beating well after each addition. Continue beating until the mixture is very light and fluffy, which should take a few minutes. Beat in the pumpkin. Don’t be alarmed if the mixture looks a bit grainy or curdled at this point, that’s completely normal and okay!
- Add the flour mixture to the wet ingredients and mix on low speed just until combined. Be careful not to overmix here. Mixing just enough keeps the bread wonderfully tender.
- Turn the batter into your prepared pans, dividing it evenly between the two. Bake for 65 to 75 minutes, or until a cake tester or wooden skewer inserted into the center of the loaf comes out clean. Let the loaves cool in the pans for about 10 minutes, then turn them out onto a wire rack to cool completely. Once completely cooled, you can cover the loaf with aluminum foil or store it in a cake keeper at room temperature for up to 3 days.
Troubleshooting Common Pumpkin Bread Issues
Even the simplest recipes can have a hiccup now and then. Don’t worry, I’m here to help you figure out what might have happened and how to fix it for next time.
My Bread is Dense or Tough – What Happened?
The most common reason for a dense or tough quick bread is overmixing the batter after adding the flour. When you mix flour with wet ingredients, you start developing gluten. A little gluten gives the bread structure, but too much makes it tough. The solution is simple: mix the dry ingredients in on low speed only until you no longer see streaks of flour.
Another potential cause could be measuring the flour incorrectly. I always recommend spooning the flour into your measuring cup and then leveling it off with a knife. Scooping directly from the bag can pack the flour down, resulting in too much flour in your batter.
Why Did My Pumpkin Bread Sink in the Middle?
A sunken middle is usually a sign that the bread was underbaked. The center needs to be fully cooked to support its own weight as it cools. Always use the toothpick test, and make sure it comes out clean or with a few dry crumbs attached. If it comes out with wet batter, it needs more time in the oven.
Opening the oven door too early in the baking process can also cause a sudden drop in temperature, leading to a collapse. Try to resist peeking until the last 10-15 minutes of the recommended baking time.
How to Know When Your Pumpkin Bread is Perfectly Done
My favorite way to check for doneness is the classic toothpick test. Insert a wooden skewer or cake tester into the thickest part of the loaf. If it comes out clean, your bread is ready. A few moist crumbs clinging to it is also a good sign, but you don’t want to see any wet batter.
For extra certainty, you can use an instant-read thermometer. A fully cooked quick bread should have an internal temperature between 200°F and 205°F (93°C to 96°C). The top of the bread should also look golden brown and feel slightly firm to the touch.
Elevate Your Loaf: Delicious Variations and Substitutions
This recipe is a wonderful base for getting creative. Here are a few of my favorite ways to switch things up.
| Variation/Substitution | Description & Instructions | Expected Impact on Texture/Flavor |
|---|---|---|
| Global Spice Blends | Add a pinch of cardamom for a floral note, a bit of ground ginger for warmth, or even a tiny bit of black pepper for a surprising kick along with the other spices. | Creates a more complex, warm, and intriguing spice profile. |
| Gluten-Free | Substitute the all-purpose flour with a high-quality 1-to-1 gluten-free baking flour blend that contains xanthan gum. No other changes are needed. | The texture may be slightly denser, but it will still be moist and delicious. |
| Dairy-Free/Vegan | Use a good quality vegan butter stick in place of butter. For the eggs, use two flax eggs (2 tbsp ground flaxseed + 6 tbsp water) or ½ cup of unsweetened applesauce. | Using oil or applesauce may result in a slightly denser crumb. Vegan butter provides the closest texture to the original. |
| Reduced Sugar | You can reduce the sugar to 1½ cups without major changes. For alternatives, replace half the sugar with maple syrup or coconut sugar, but note it will change the flavor. | Using liquid sweeteners may make the batter slightly thinner and the bread a bit denser. The loaf may also brown faster. |
| Fun Add-Ins | Gently fold in 1 cup of chocolate chips, chopped pecans, walnuts, or dried cranberries after the flour is just combined. For a cream cheese swirl, layer half the batter in the pan, add dollops of a sweetened cream cheese mixture, then top with the remaining batter and swirl gently with a knife. | Adds wonderful texture and complementary flavors to the bread. |
Baking Beyond the Loaf: Muffins, Bundt, and Mini Breads
This versatile batter can be baked in more than just a loaf pan!
- For Muffins: Line a muffin tin with paper liners and fill them about two-thirds full. Bake at 350°F (175°C) for 20-25 minutes, or until a toothpick comes out clean. This recipe should yield about 24 muffins.
- For a Bundt Cake: Make sure to very generously grease and flour a 10 or 12-cup Bundt pan. Pour in the batter and bake at 325°F (165°C) for 50-65 minutes. Let it cool in the pan for 15 minutes before inverting it onto a wire rack.
- For Mini Loaves: Divide the batter among four to five mini loaf pans. Bake at 325°F (165°C) for 35-45 minutes. These are perfect for gifting!
Perfect Pairings and Serving Suggestions for Pumpkin Bread
While a slice of this pumpkin bread is perfect on its own, it’s also fun to dress it up. I love toasting a thick slice and spreading it with salted butter or a generous smear of cream cheese.
For a cozy afternoon treat, I pair it with a hot chai tea latte or a simple cup of black coffee. If you want to get a little fancier, try serving it with a dollop of mascarpone cheese and a drizzle of maple syrup. A homemade cinnamon-honey butter is also absolutely divine.
Storing Your Pumpkin Bread for Maximum Freshness
To keep your pumpkin bread moist, let it cool completely first. Then, wrap the loaf tightly in plastic wrap or aluminum foil, or place it in an airtight container or cake keeper. It will stay fresh and delicious at room temperature for up to three days.
Can You Freeze Pumpkin Bread?
Yes, this bread freezes beautifully! It’s one of the reasons I love that this recipe makes two loaves. You can enjoy one now and save the other for a busy day. To freeze, let the loaf cool completely, then wrap it securely in plastic wrap, followed by a layer of aluminum foil or a freezer-safe bag. It will keep well in the freezer for up to three months. You can freeze the whole loaf or individual slices for a quick and easy snack. Just let it thaw at room temperature before serving.
Gifting Homemade Pumpkin Bread (Tips from Aisha)
There is something so special about giving a homemade gift from the kitchen. This pumpkin bread makes a wonderful and thoughtful present for neighbors, teachers, or friends. I love to wrap a cooled loaf in a piece of parchment paper and tie it with some simple kitchen twine.
For a finishing touch, I sometimes tuck a fresh sprig of rosemary or a cinnamon stick under the twine. Don’t forget to add a little handwritten tag with the name of the bread and maybe a note that it’s best enjoyed within three days. It’s a small gesture that shows how much you care.
Frequently Asked Questions about Pumpkin Bread
Can I make the batter in advance?
I recommend baking the batter right after you mix it. The baking soda and baking powder are activated as soon as they are mixed with the wet ingredients, so for the best rise and texture, it’s best to get it into the oven quickly.
Can I use fresh pumpkin instead of canned?
Absolutely! Just make sure you cook and puree it until it’s very smooth. As I mentioned earlier, fresh pumpkin holds more water, so be sure to drain it and blot it with paper towels to get a thick consistency similar to canned puree.
How do I adjust this recipe for a high-altitude location?
Baking at high altitudes can be tricky. You might need to decrease the sugar slightly (by about 1-2 tablespoons), reduce the baking soda to ¾ teaspoon, and increase the oven temperature to 350°F (175°C).
Final Thoughts & Your Pumpkin Bread Creation!
There is so much joy to be found in baking something simple and comforting for yourself or the people you love. I hope this pumpkin bread recipe brings warmth and happiness to your kitchen. It’s a small, delicious victory that can make any day feel a little cozier.
Now it’s your turn! I would absolutely love to hear how your pumpkin bread turns out. Please leave a comment below to share your experience, ask any questions you might have, or even share a photo of your beautiful loaf. Happy baking
Pumpkin Bread
Ingredients
Equipment
Method
- Preheat the oven to 325°F (165°C) with an oven rack in the middle. Generously grease two 8 x 4-inch loaf pans with butter and dust with flour, or use a baking spray with flour.
- In a medium bowl, whisk together the flour, salt, baking soda, baking powder, cloves, cinnamon, and nutmeg until well combined; then set aside.
- In a large bowl with an electric mixer, beat butter and sugar until blended. Add eggs one at a time, beating well after each, until the mixture is light and fluffy. Beat in the pumpkin; a grainy texture is normal.
- Gradually add the dry flour mixture to the wet ingredients and mix on low speed until just combined.
- Divide the batter evenly into the prepared pans and bake for 65-75 minutes, or until a cake tester comes out clean. Cool loaves in pans for 10 minutes, then transfer to a wire rack to cool completely before covering for storage.